
SpringBoot高级应用学习笔记
2019年10月17日15:30:04,老师:雷丰阳
1、缓存注解
@Cacheable:能对某个方法的返回值进行缓存。
1)value属性:指定缓存的名字。
2)key属性:缓存数据使用的key,默认使用参数列表的值。key对应的值是返回值。key属性可以使用SpEL表达式。
3)keyGenerator:key生成器,可以自己指定key生成器。
4)cacheManager:缓存管理器。
5)condition:设定条件,符合条件的情况下才进行缓存。
6)unless:和condition相反。但可以对返回值进行判断。
7)sync:是否使用异步模式。
运行流程:
@Cacheable:
1、方法运行之前,先去查询Cache(缓存组件),按照cacheNames指定的名字获取;
(CacheManager先获取相应的缓存),第一次获取缓存如果没有Cache组件会自动创建。
2、去Cache中查找缓存的内容,使用一个key,默认就是方法的参数;key是按照某种策略生成的;默认是使用keyGenerator生成的,默认使用SimpleKeyGenerator生成key;SimpleKeyGenerator生成key的默认策略;
	如果没有参数;key=new SimpleKey();
	如果有一个参数:key=参数的值
	如果有多个参数:key=new SimpleKey(params);
3、没有查到缓存就调用目标方法;
4、将目标方法返回的结果,放进缓存中

@Cacheable标注的方法执行之前先来检查缓存中有没有这个数据,默认按照参数的值作为key去查询缓存,
如果没有就运行方法并将结果放入缓存;以后再来调用就可以直接使用缓存中的数据;
新建一个PersonServiceImpl类,对这个类里面的方法的返回值进行缓存
package cn.lixingyu.springadvanced.service.impl;

import cn.lixingyu.springadvanced.entity.Person;
import cn.lixingyu.springadvanced.mapper.PersonMapper;
import cn.lixingyu.springadvanced.service.PersonService;
import org.springframework.beans.factory.annotation.Autowired;
import org.springframework.cache.annotation.Cacheable;
import org.springframework.stereotype.Service;

/**
 * @author Rlxy93
 * @time 2019/10/18 09:03
 */
@Service("personService")
public class PersonServiceImpl implements PersonService {

    @Autowired
    private PersonMapper personMapper;

    @Override
    //使用unless,符合条件的不缓存,#result==null 表示如果返回值为null,则不缓存
    @Cacheable(cacheNames = "temp",unless = "#result == null")
    public Person queryPerson(Integer id) {
        System.out.println("queryPerson()....");
        Person person = personMapper.queryPerson(id);
        return person;
    }
}
ps:必须给@Cacheable设置CacheNames
运行效果:
@CachePut:保证方法能够被调用,并缓存返回值。
在PersonServiceImpl类中新建一个方法
@Override
    //cacheNames必须和上面查询的保持一致,否则更新缓存的时候不会更新查询到的缓存
    @CachePut(cacheNames = "temp",key = "#p.id")
    public Person updatePerson(Person p) {
        System.out.println("updatePerson()....");
        personMapper.updatePerson(p);
        return p;
    }
运行效果(保证方法能够被调用):
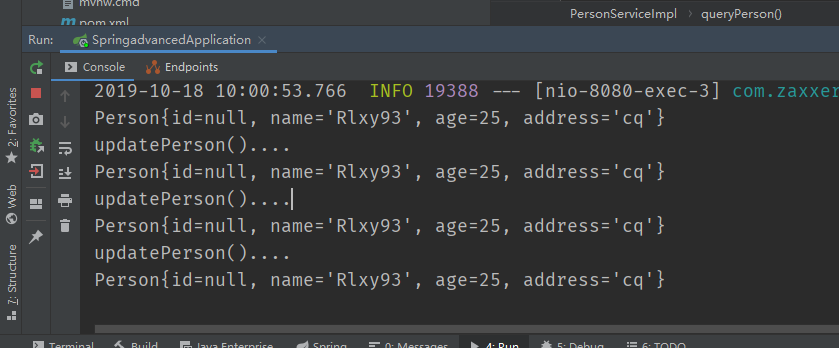
运行结果(缓存返回值):
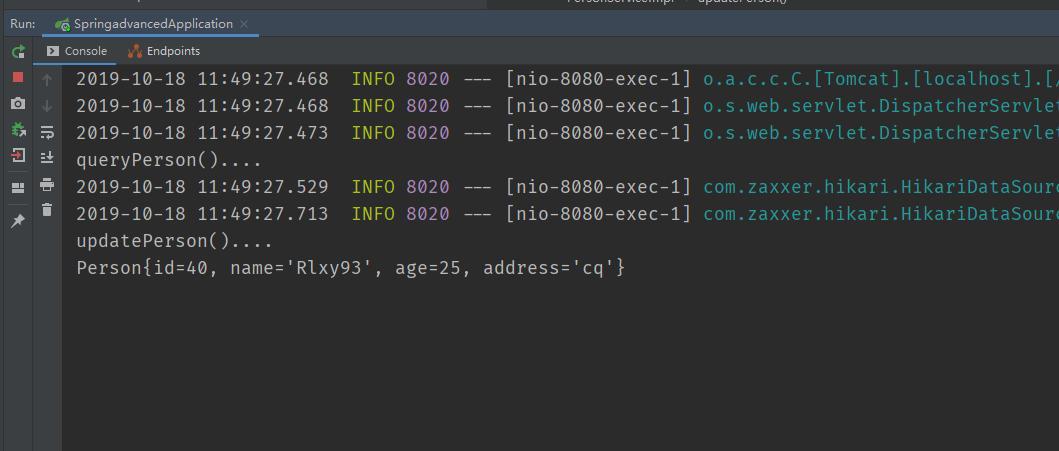
其中,先查询一次,再更新数据库,再查询。
@CacheEvict:清空缓存。
在类中修改
@Override
    //删除缓存,beforeInvocation表示在方法执行之前删除
    @CacheEvict(cacheNames = "temp",key = "#id",beforeInvocation = true)
    public void deletePerson(Integer id) {
        System.out.println("deletePerson()....");
        personMapper.deletePerson(id);
    }
运行效果:
其中,不指定key表示默认为key = "#id"。
@Caching:上文中三个注解的组合。三个参数:cacheable,put,evict。
在PersonServiceImpl类中加入
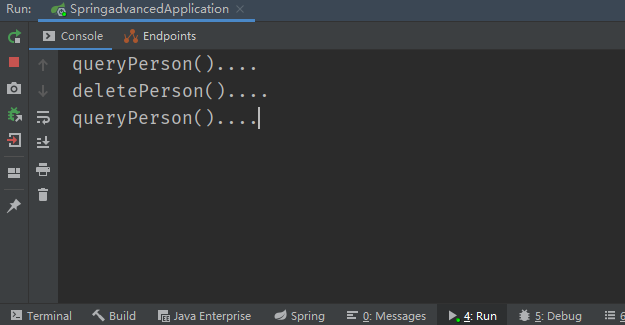
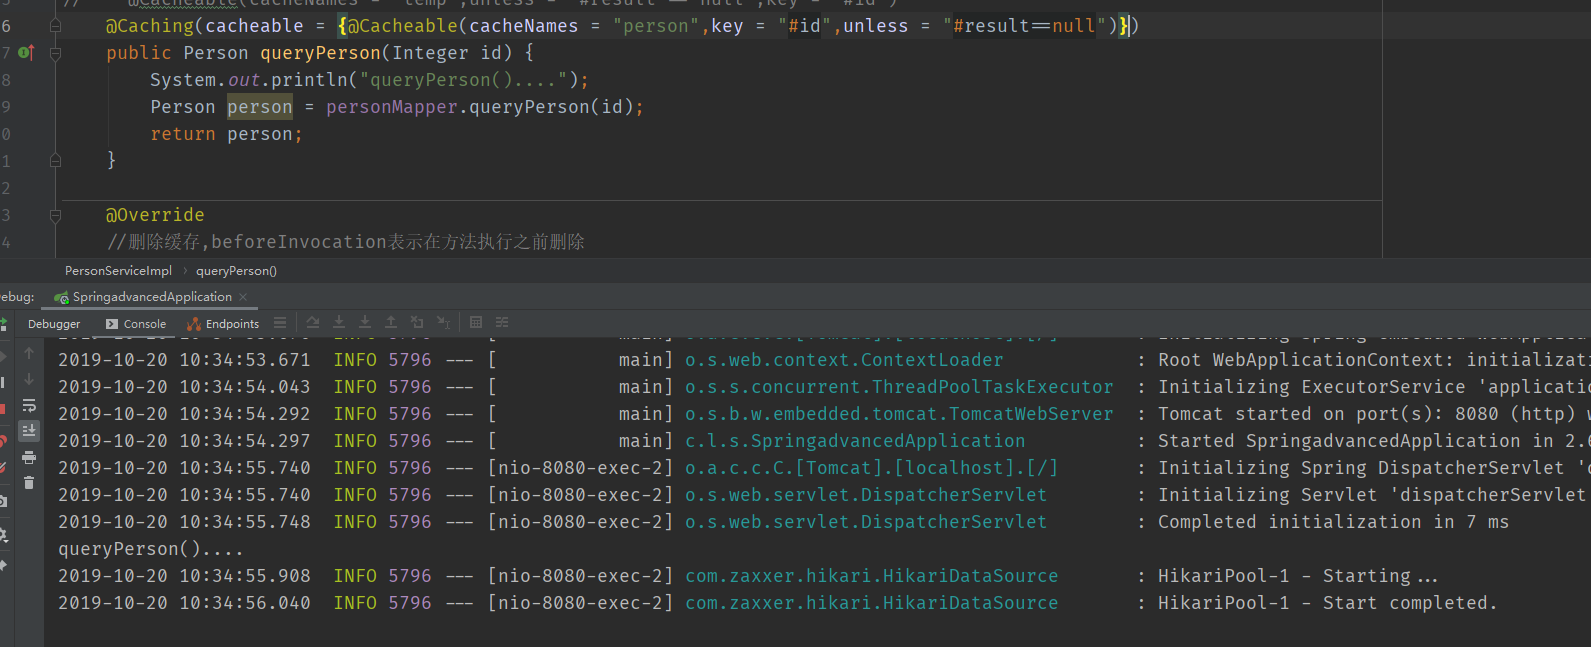
@Caching(cacheable = {@Cacheable(cacheNames = "person",key = "#id",unless = "#result==null")})
    public Person queryPerson(Integer id) {
        System.out.println("queryPerson()....");
        Person person = personMapper.queryPerson(id);
        return person;
    }
运行效果:
@CacheConfig:设置整个类的变量,比如cacheNames。
2、Redis缓存
StringRedisTemplate:操作字符串。
RedisTemplate:操作其他。
ps:保存对象时,默认使用jdk提供的序列化接口,需要给保存的对象实现序列化接口才能保存。
自定义CacheManager
@Bean
    public CacheManager cacheManager(RedisConnectionFactory redisConnectionFactory) {
        //初始化一个RedisCacheWriter
        RedisCacheWriter redisCacheWriter = RedisCacheWriter.nonLockingRedisCacheWriter(redisConnectionFactory);
        //设置CacheManager的值序列化方式为json序列化
        GenericJackson2JsonRedisSerializer json = new GenericJackson2JsonRedisSerializer();
        RedisSerializationContext.SerializationPair<Object> pair = RedisSerializationContext.SerializationPair
                .fromSerializer(json);
        RedisCacheConfiguration defaultCacheConfig=RedisCacheConfiguration.defaultCacheConfig()
                .serializeValuesWith(pair);
        //设置默认超过期时间是30秒
        defaultCacheConfig.entryTtl(Duration.ofSeconds(30));
        //初始化RedisCacheManager
        return new RedisCacheManager(redisCacheWriter, defaultCacheConfig);
    }
自定义序列化接口(json)
新建Config类
package cn.lixingyu.springadvanced.config;

import cn.lixingyu.springadvanced.entity.Father;
import com.alibaba.fastjson.support.spring.GenericFastJsonRedisSerializer;
import org.springframework.context.annotation.Bean;
import org.springframework.context.annotation.Configuration;
import org.springframework.data.redis.connection.RedisConnectionFactory;
import org.springframework.data.redis.core.RedisTemplate;
import org.springframework.data.redis.serializer.StringRedisSerializer;

/**
 * @author Rlxy93
 * @time 2019/10/18 08:42
 */
@Configuration
public class AcConfig {

    @Bean("myRedisTemplate")
    public RedisTemplate<Object, Father> redisTemplate(RedisConnectionFactory redisConnectionFactory){
        RedisTemplate<Object, Father> temp = new RedisTemplate<>();
        temp.setConnectionFactory(redisConnectionFactory);
        GenericFastJsonRedisSerializer json = new GenericFastJsonRedisSerializer();
        temp.setDefaultSerializer(json);
        //解决存入的key有双引号的问题
        temp.setKeySerializer(new StringRedisSerializer());
        return temp;
    }

}
新建RedisPractice类
package cn.lixingyu.springadvanced;
import cn.lixingyu.springadvanced.entity.Person;
import org.junit.Test;
import org.junit.runner.RunWith;
import org.springframework.beans.factory.annotation.Autowired;
import org.springframework.beans.factory.annotation.Qualifier;
import org.springframework.boot.test.context.SpringBootTest;
import org.springframework.data.redis.core.RedisTemplate;
import org.springframework.data.redis.core.StringRedisTemplate;
import org.springframework.test.context.junit4.SpringRunner;
/**
* @author Rlxy93
* @time 2019/10/20 10:38
*/
@RunWith(SpringRunner.class)
@SpringBootTest
public class RedisPractice {
@Autowired
private StringRedisTemplate stringRedisTemplate;
@Qualifier("myRedisTemplate")
@Autowired
private RedisTemplate redisTemplate;
@Test
public void test1(){
// stringRedisTemplate.opsForValue().append("Rlxy93","lxy");
// String rlxy93 = stringRedisTemplate.opsForValue().get("Rlxy93");
// System.out.println(rlxy93);
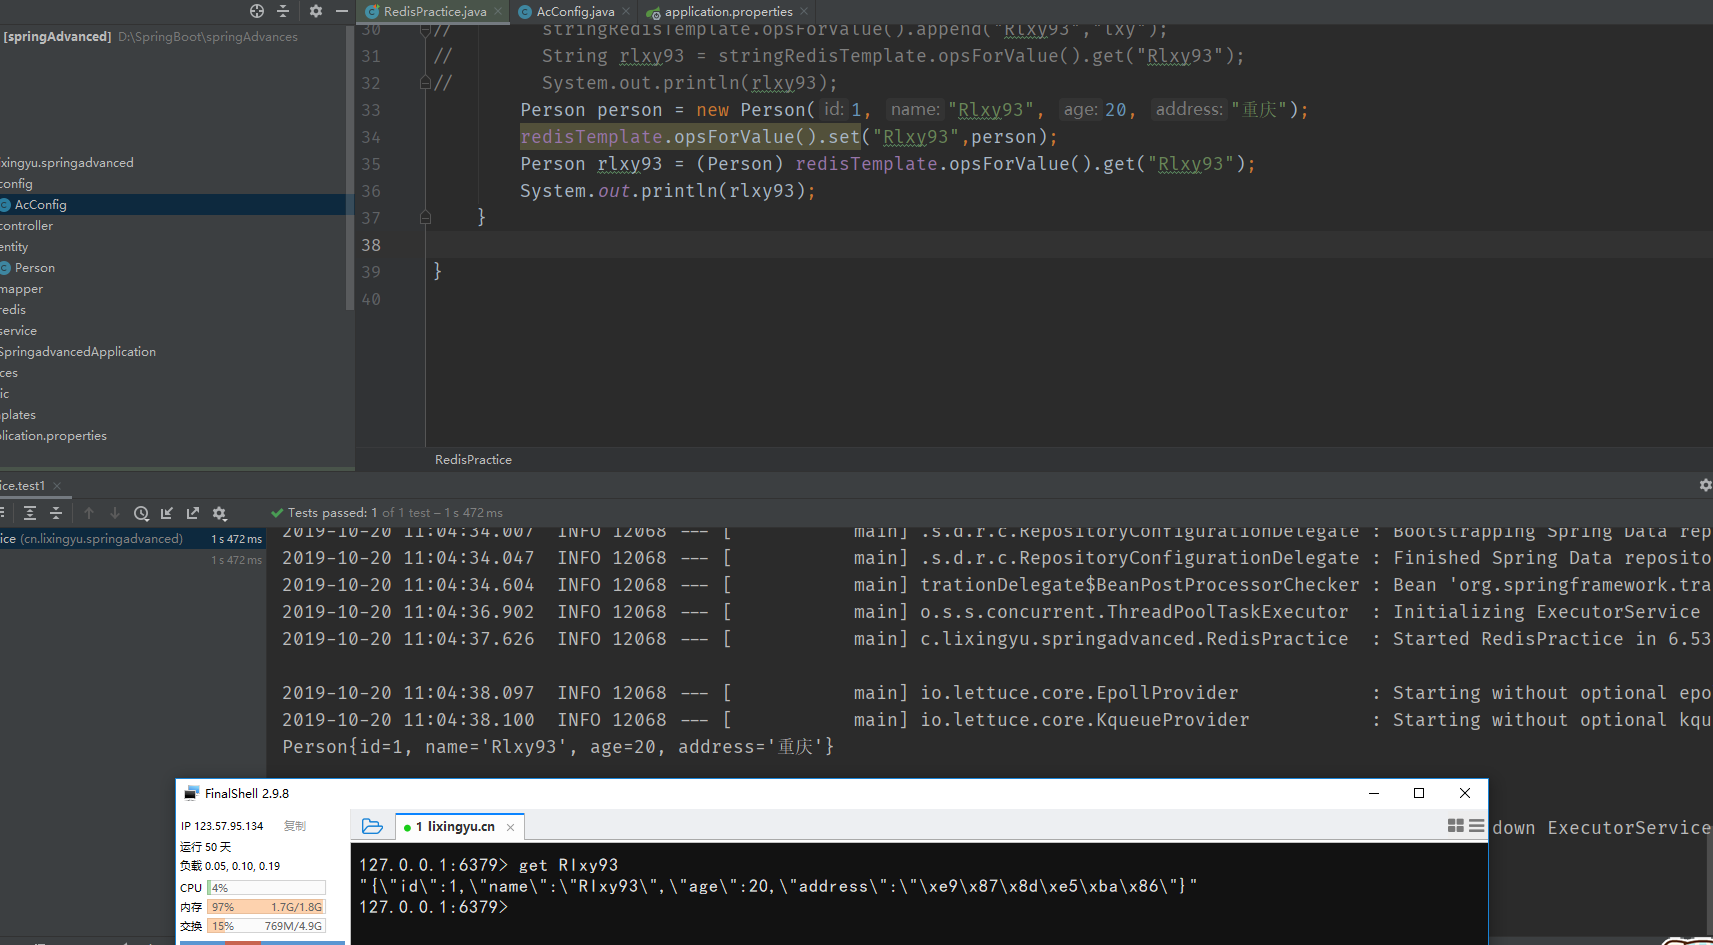
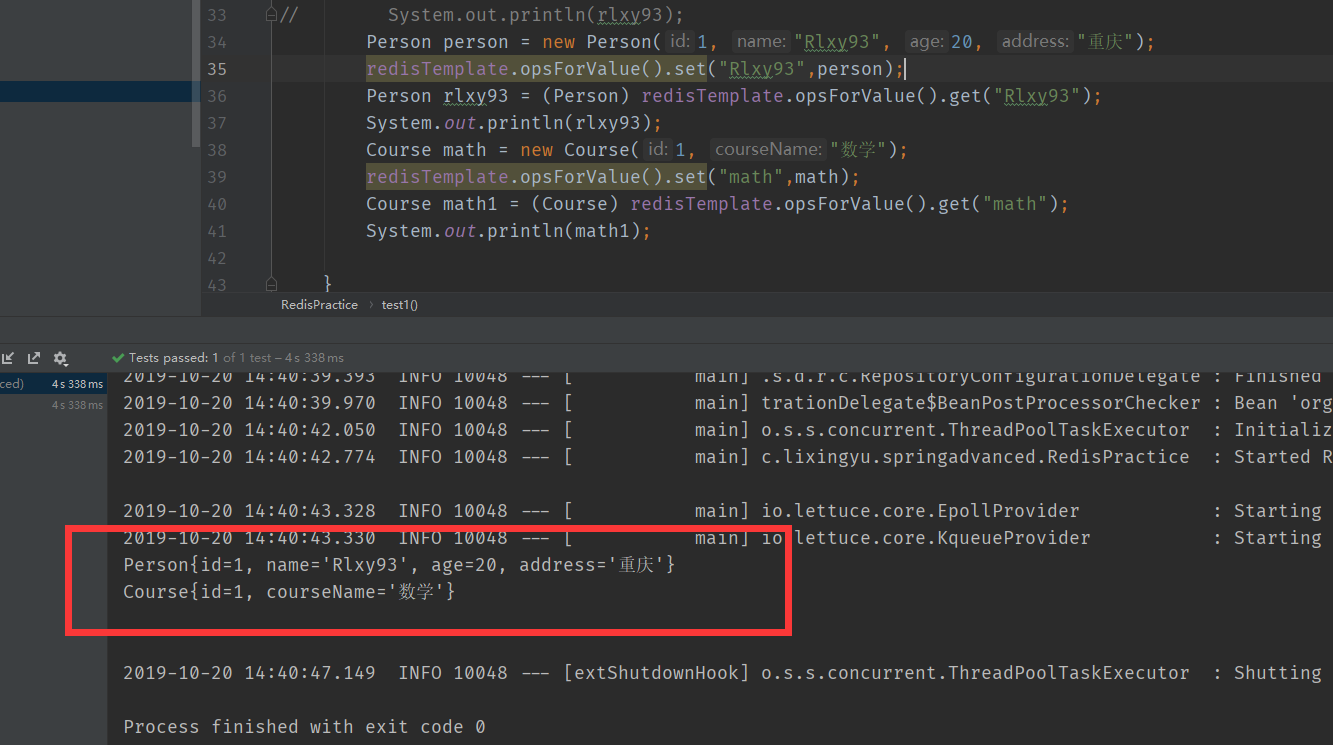
Person person = new Person(1, "Rlxy93", 20, "重庆");
redisTemplate.opsForValue().set("Rlxy93",person);
Person rlxy93 = (Person) redisTemplate.opsForValue().get("Rlxy93");
System.out.println(rlxy93);
}
}
运行效果:
思考1
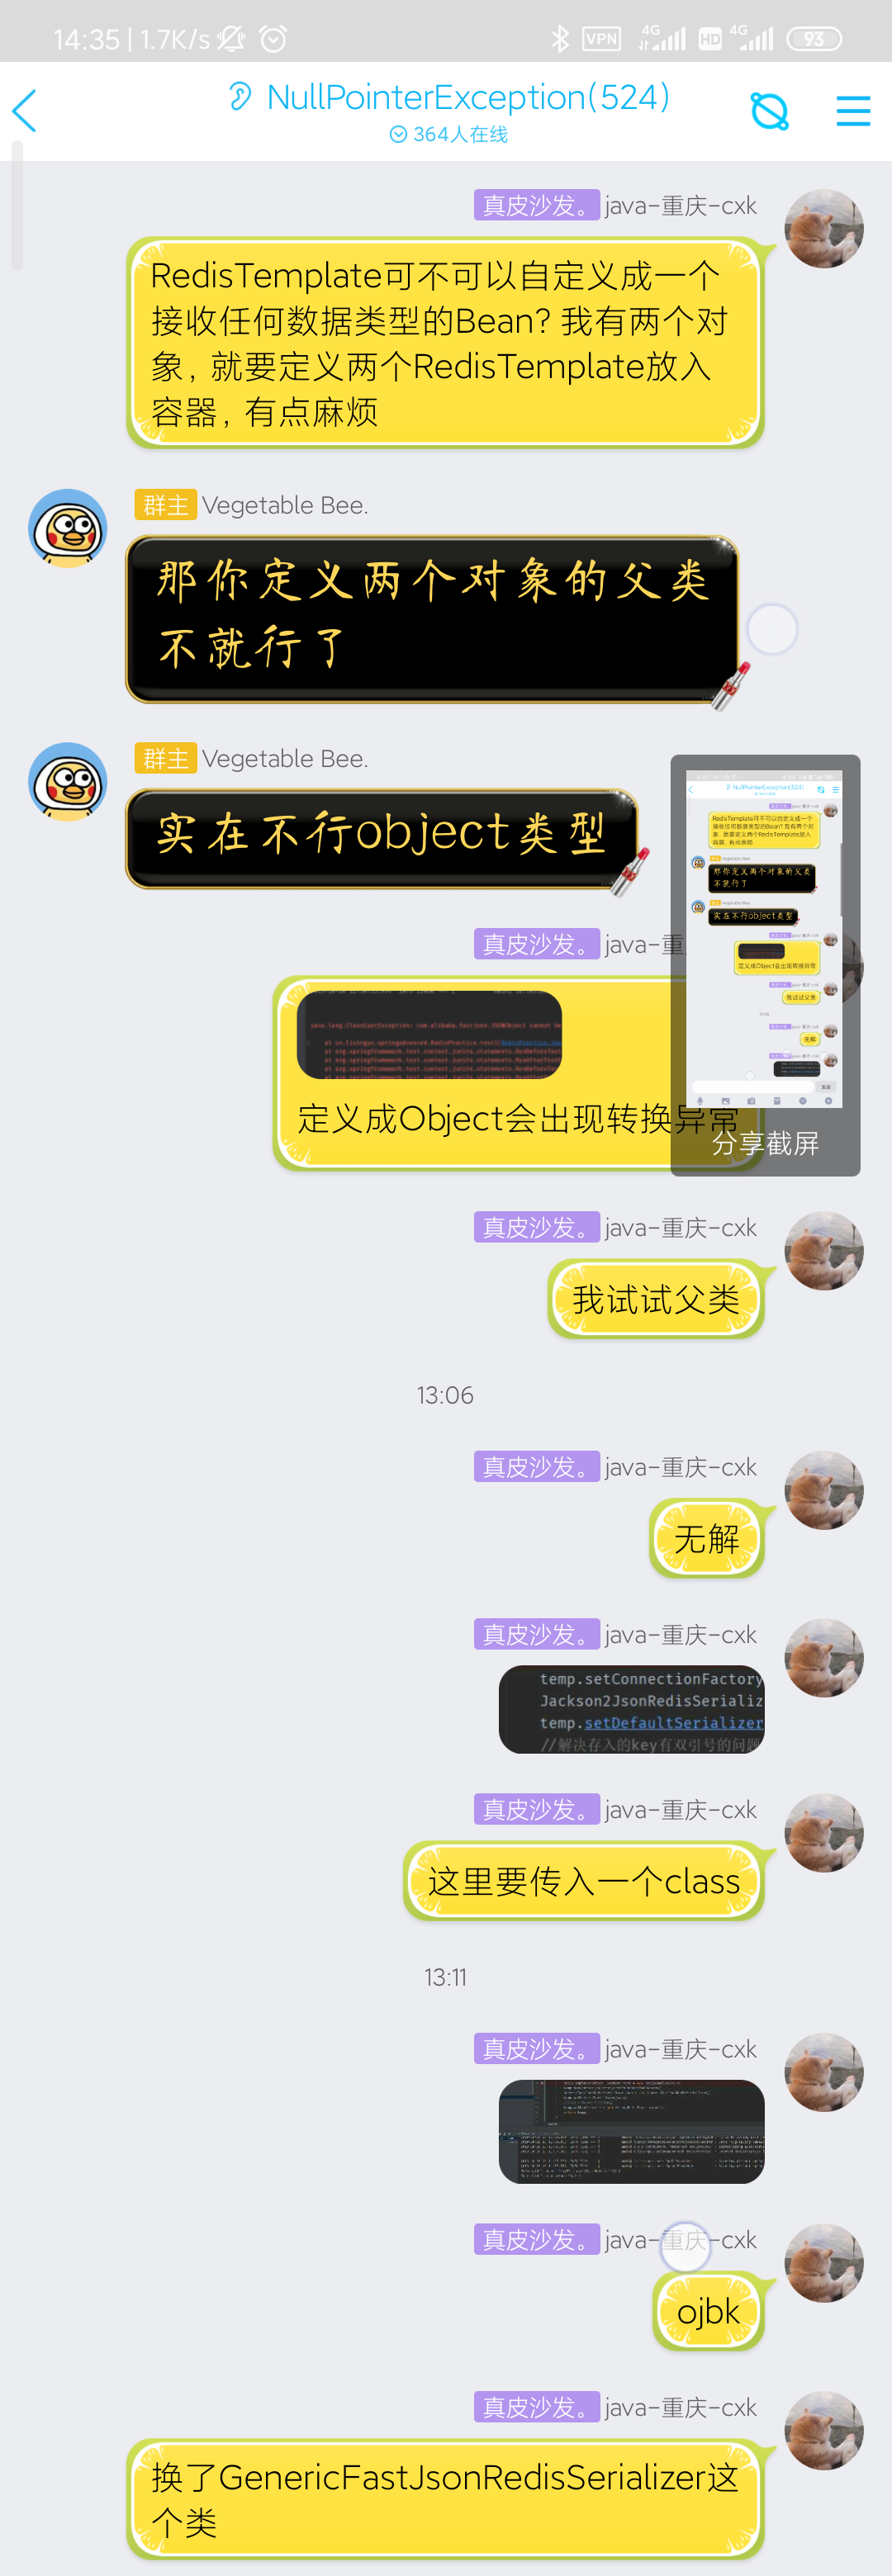
我想,在视频中,老师定义了两个实体类,就要使用两个RedisTemplate来分别对应两个类,如果有很多个类,那么就要定义很多,于是得到了个思考:RedisTemplate可不可以自定义成一个接收任何数据类型的Bean?
在经过一阵摸索之后,我发现,只要将Jackson2JsonRedisSerializer改成GenericFastJsonRedisSerializer就可以了。因为Jackson2JsonRedisSerializer需要传入一个class对象,而GenericFastJsonRedisSerializer不需要。
运行效果:
3、RabbitMQ消息队列
下载
docker pull rabbitmq:3-management
运行(必须设置15672端口,否则web界面无法访问)
docker run -d -p 5672:5672 -p 15672:15672 --name rabbitmq rabbitmq
demo
新建一个RabbitPractice类
package cn.lixingyu.springadvanced;
import cn.lixingyu.springadvanced.entity.Person;
import org.junit.Test;
import org.junit.runner.RunWith;
import org.springframework.amqp.rabbit.core.RabbitTemplate;
import org.springframework.beans.factory.annotation.Autowired;
import org.springframework.boot.test.context.SpringBootTest;
import org.springframework.test.context.junit4.SpringRunner;
/**
* @author Rlxy93
* @time 2019/10/21 18:02
*/
@RunWith(SpringRunner.class)
@SpringBootTest
public class RabbitPractice {
@Autowired
private RabbitTemplate rabbitTemplate;
//发送消息
@Test
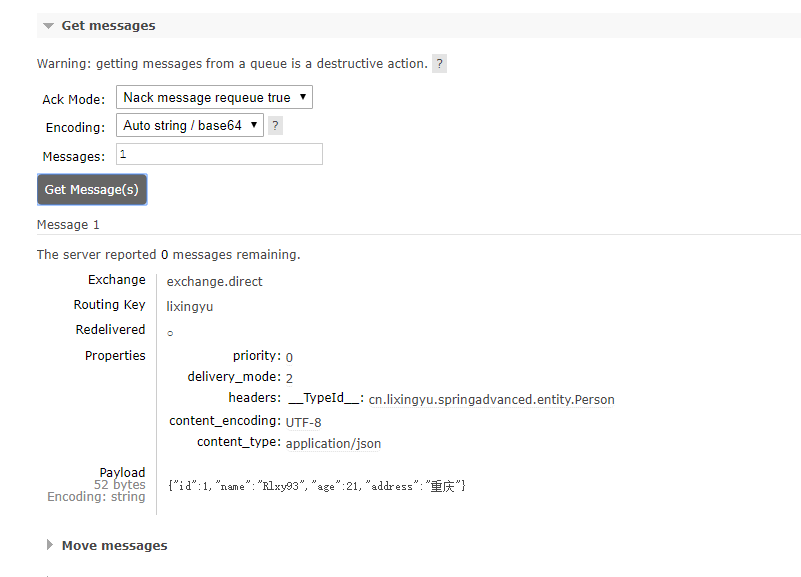
public void test1(){
rabbitTemplate.convertAndSend("exchange.direct","lixingyu",new Person(1,"Rlxy93",21,"重庆"));
}
//接收消息
@Test
public void test2(){
Person lixingyu = (Person) rabbitTemplate.receiveAndConvert("lixingyu");
System.out.println(lixingyu.getClass());
System.out.println(lixingyu);
}
}
自定义MessageConverter:
//自定义RabbitMQ的序列化工具
    @Bean("myMessageConverter")
    public MessageConverter messageConverter(){
        return new Jackson2JsonMessageConverter();
    }
运行效果:
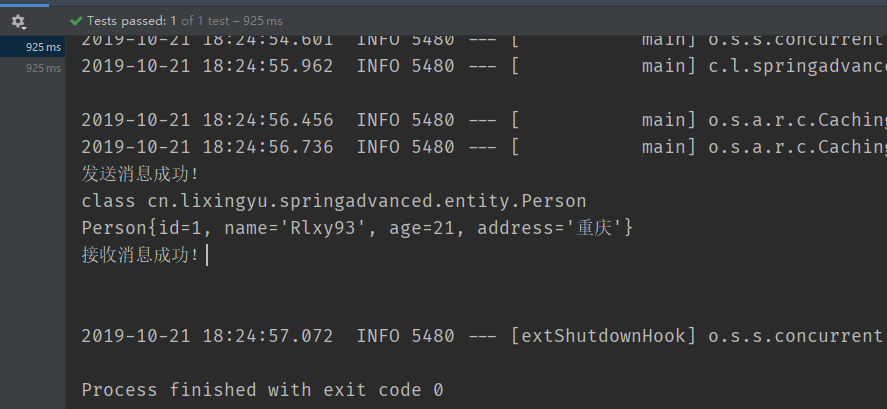
使用注解
@RabbitListener(queues = "lixingyu")
    public void rabbitListener(Person lixingyu){
        System.out.println(lixingyu.getClass());
        System.out.println(lixingyu);
    }
运行效果:
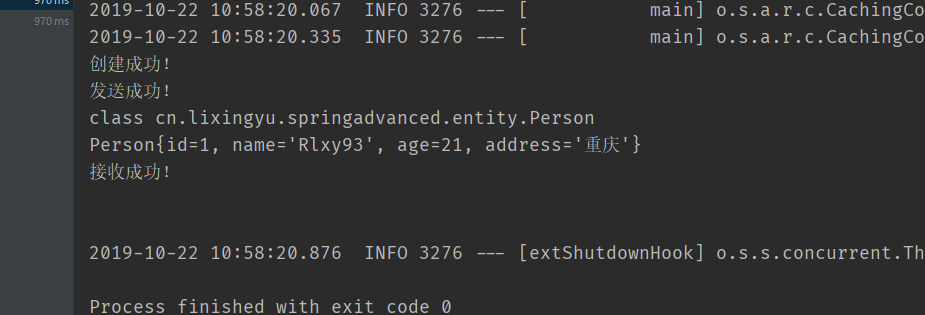
综合应用
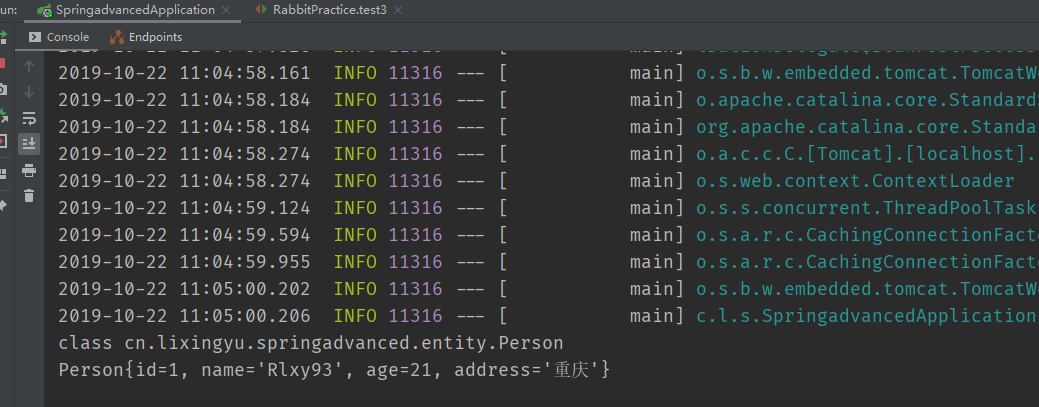
@Test
    public void test3(){
        amqpAdmin.declareExchange(new DirectExchange("Rlxy93"));
        amqpAdmin.declareQueue(new Queue("Rlxy93"));
        amqpAdmin.declareBinding(new Binding("Rlxy93", Binding.DestinationType.QUEUE,"Rlxy93","lixingyu",null));
        amqpAdmin.purgeQueue("Rlxy93",true);
        System.out.println("创建成功!");
        rabbitTemplate.convertAndSend("Rlxy93","lixingyu",new Person(1,"Rlxy93",21,"重庆"));
        rabbitTemplate.convertAndSend("Rlxy93","lixingyu",new Person(1,"Rlxy93",21,"重庆"));
        System.out.println("发送成功!");
        Object rlxy93 = rabbitTemplate.receiveAndConvert("Rlxy93");
        System.out.println(rlxy93.getClass());
        System.out.println((Person)rlxy93);
        System.out.println("接收成功!");
    }
运行效果: